使用jenkins-2.401.1
gitlab-ci使用
接着上篇文章,先将项目上传至gitlab,其中包含编写ci文件,然后就会自动检测到并构建运行ci文件。
这个gitlab-ci文件要在项目中的根目录中,形式如: .gitlab-ci.yaml
在这个文件中,可以定义:
- 脚本
- 配置文件
- 命令
- 要部署到的环境位置
比如官方给的举例:
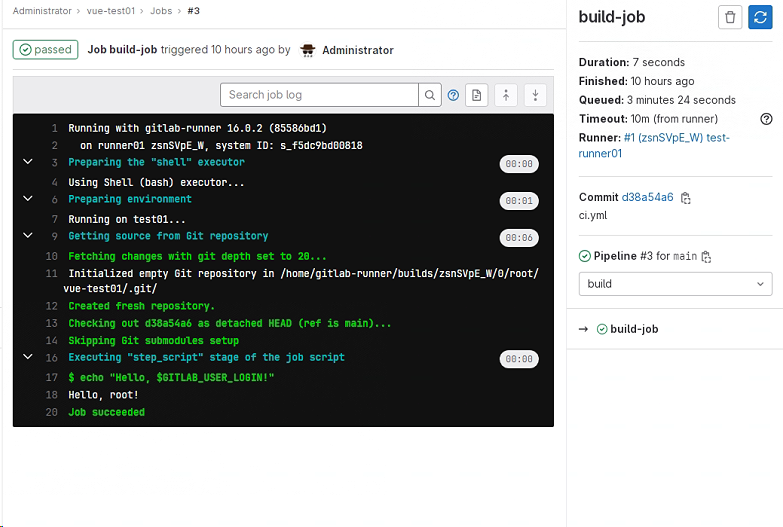
build-job:
stage: build
script:
- echo "Hello, $GITLAB_USER_LOGIN!"
test-job1:
stage: test
script:
- echo "This job tests something"
test-job2:
stage: test
script:
- echo "This job tests something, but takes more time than test-job1."
- echo "After the echo commands complete, it runs the sleep command for 20 seconds"
- echo "which simulates a test that runs 20 seconds longer than test-job1"
- sleep 20
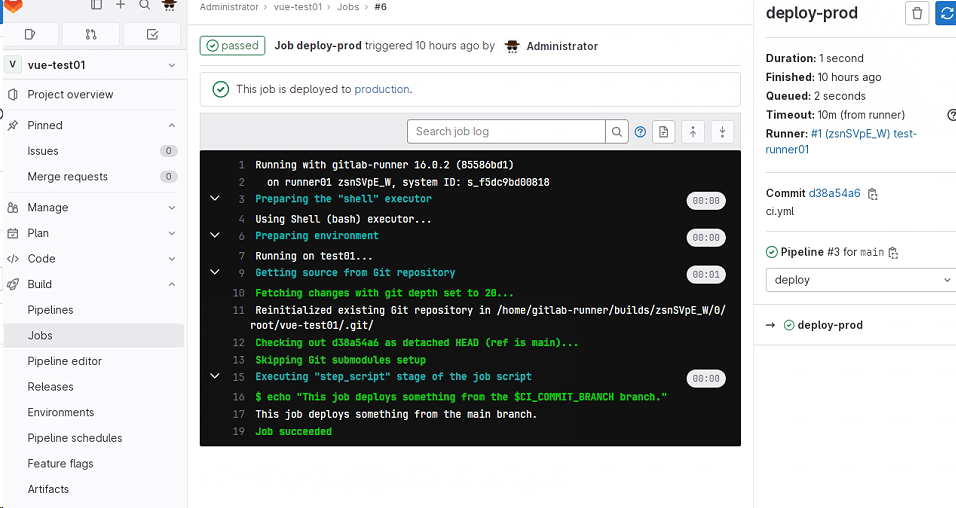
deploy-prod:
stage: deploy
script:
- echo "This job deploys something from the $CI_COMMIT_BRANCH branch."
environment: production
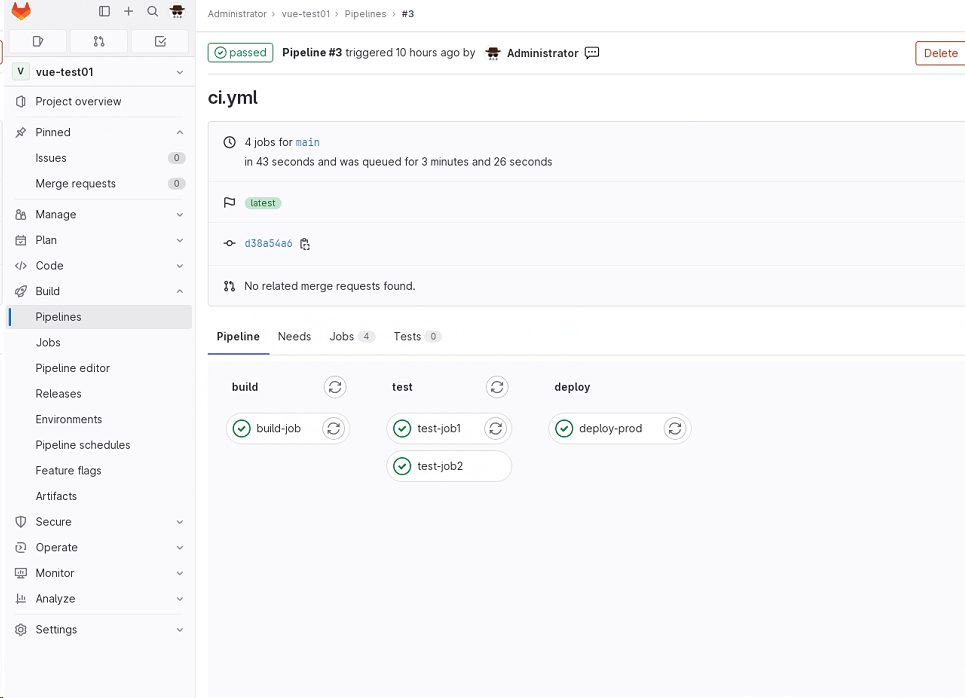
提交代码后,流水线就会启动,查看流水线,转到 CI/CD > 流水线。
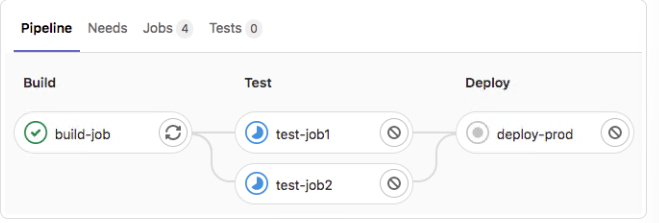
应显示具有三个阶段的流水线:
CI/CD模版
这里包含各种语言环境的流水线模板,大家可以看一下 https://docs.gitlab.cn/jh/ci/examples/#cicd-%E6%A8%A1%E6%9D%BF
例如shell命令:
# You can copy and paste this template into a new `.gitlab-ci.yml` file.
# You should not add this template to an existing `.gitlab-ci.yml` file by using the `include:` keyword.
#
# To contribute improvements to CI/CD templates, please follow the Development guide at:
# https://docs.gitlab.com/ee/development/cicd/templates.html
# This specific template is located at:
# https://gitlab.com/gitlab-org/gitlab/-/blob/master/lib/gitlab/ci/templates/Bash.gitlab-ci.yml

# See https://docs.gitlab.com/ee/ci/yaml/index.html for all available options

# you can delete this line if you're not using Docker
image: busybox:latest

before_script:
  - echo "Before script section"
  - echo "For example you might run an update here or install a build dependency"
  - echo "Or perhaps you might print out some debugging details"

after_script:
  - echo "After script section"
  - echo "For example you might do some cleanup here"

build1:
  stage: build
  script:
    - echo "Do your build here"

test1:
  stage: test
  script:
    - echo "Do a test here"
    - echo "For example run a test suite"

test2:
  stage: test
  script:
    - echo "Do another parallel test here"
    - echo "For example run a lint test"

deploy1:
  stage: deploy
  script:
    - echo "Do your deploy here"
  environment: production
注意: 这里要确保有可用的runner,还有项目中包含ci文件。
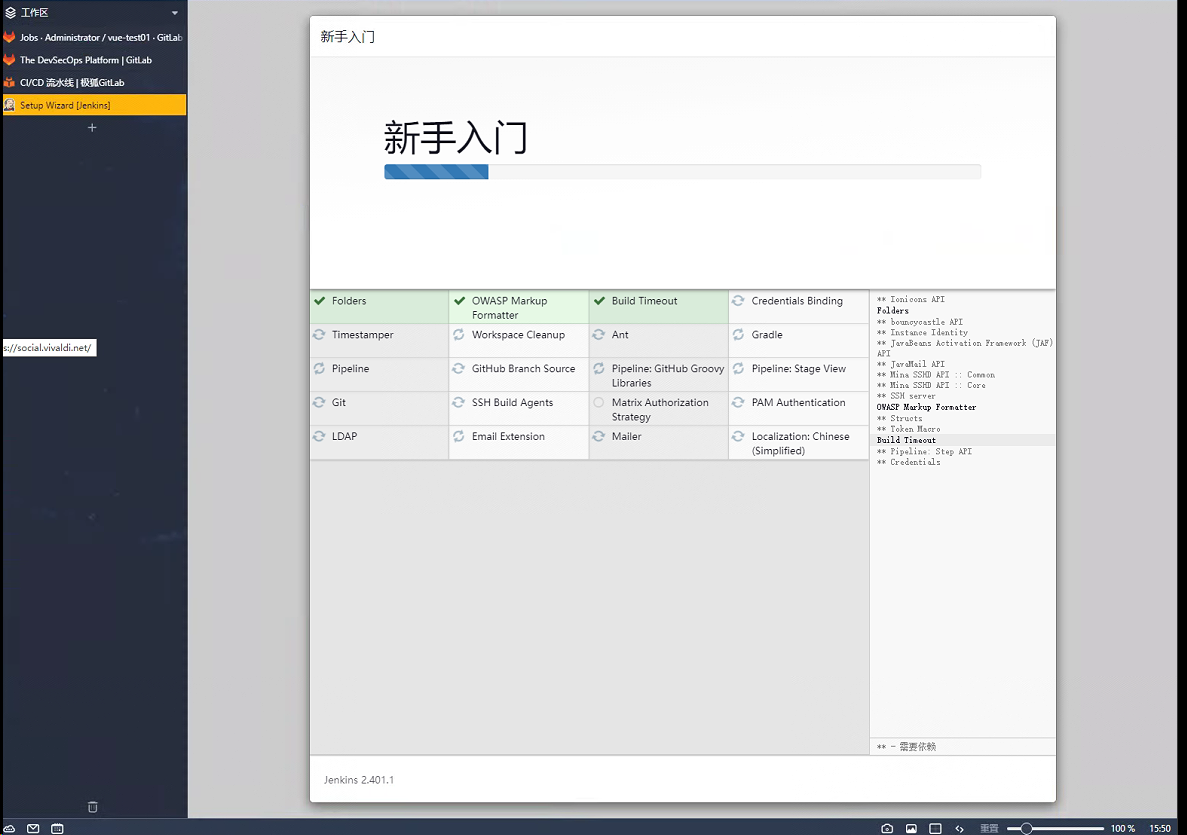
jenkins安装使用
正在安装中,以下为安装方法:
环境要求: 最低:256MB内存、1GB磁盘 推荐:4GB+内存、50GB+磁盘
安装长期支持版本LTS:
sudo wget -O /etc/yum.repos.d/jenkins.repo \
    https://pkg.jenkins.io/redhat-stable/jenkins.repo

sudo rpm --import https://pkg.jenkins.io/redhat-stable/jenkins.io-2023.key

sudo yum upgrade
# Add required dependencies for the jenkins package
sudo yum install java-11-openjdk
sudo yum install jenkins
sudo systemctl daemon-reload
启动并查看状态:
sudo systemctl enable jenkins
sudo systemctl start jenkins
sudo systemctl status jenkins
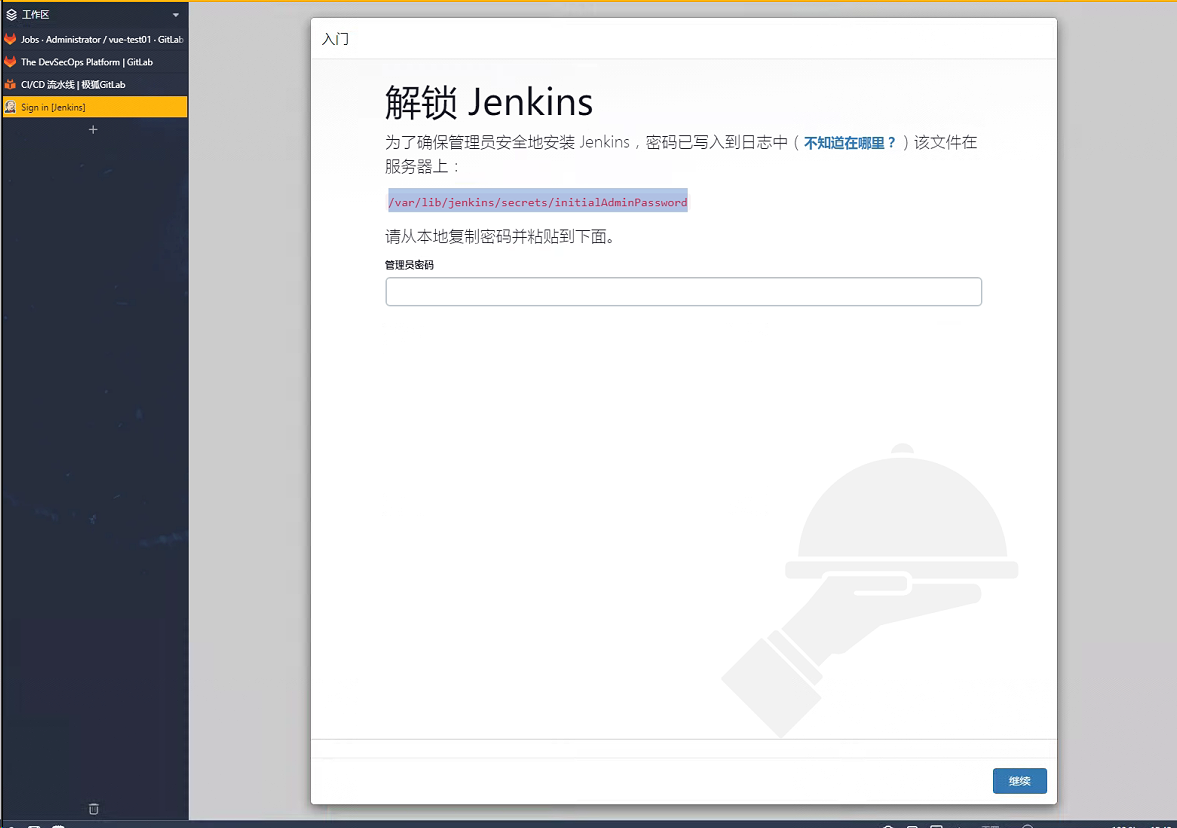
访问
地址:
http://localhost:8080
密码:
在/var/jenkins_home/secrets/initiailAdminPasswrd 中
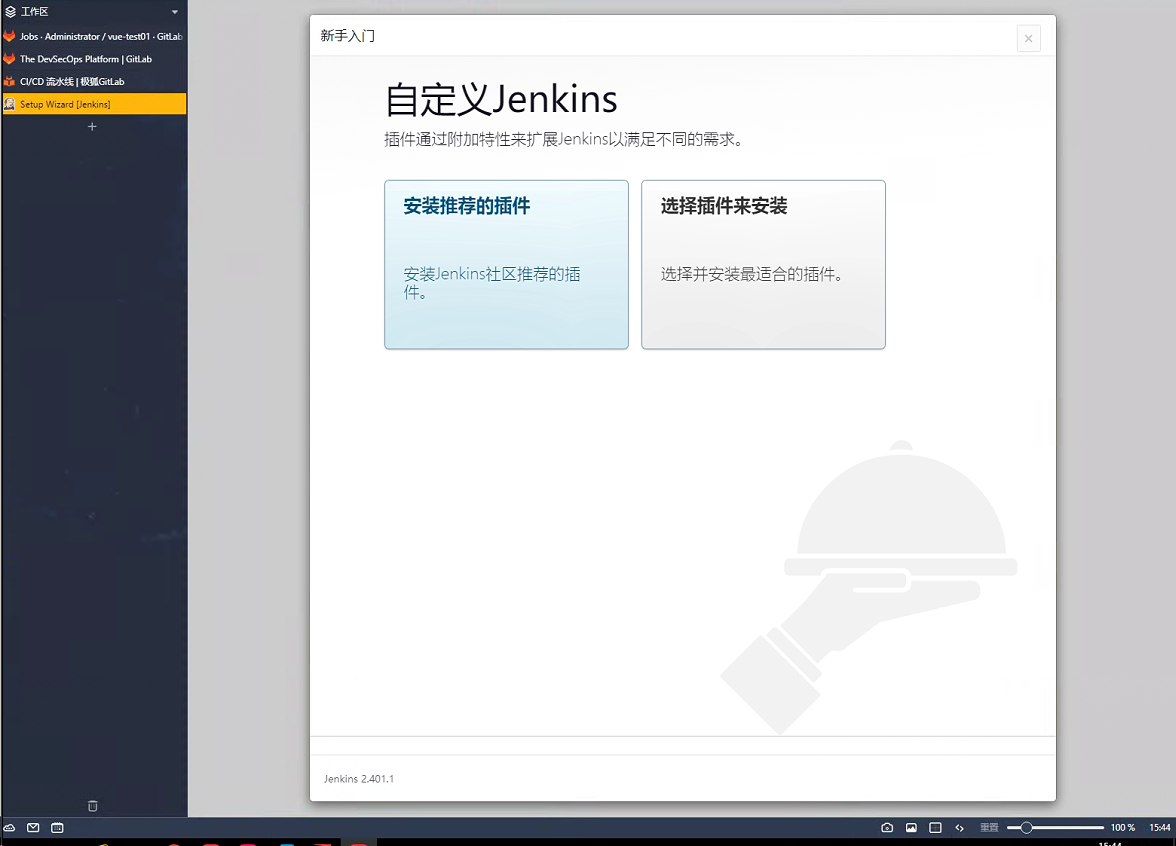
安装插件
直接选择推荐插件即可,目前安装没有什么问题。也可以选择自定义插件安装。
创建管理员
根据需求设置即可。

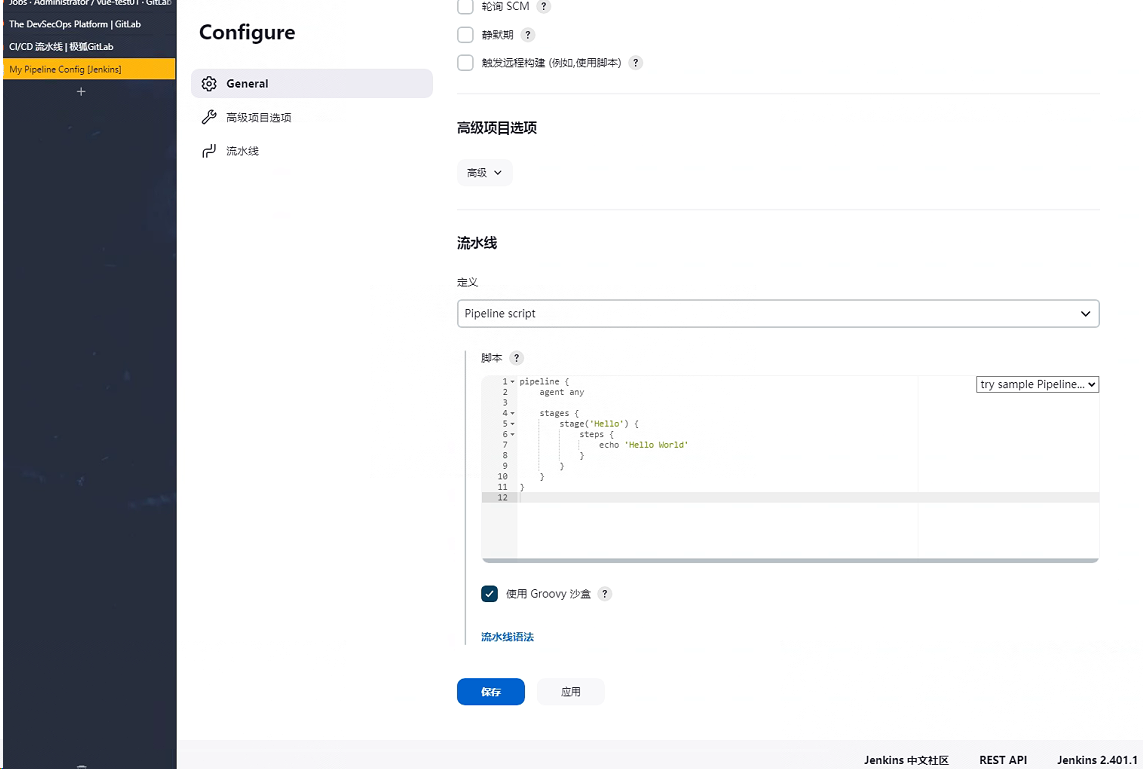
创建一个hello world流水线
步骤:
- 创建新项目,起名字
- 点击创建流水线,添加git仓库地址
- 保存,观察流水线
直接选择示例脚本
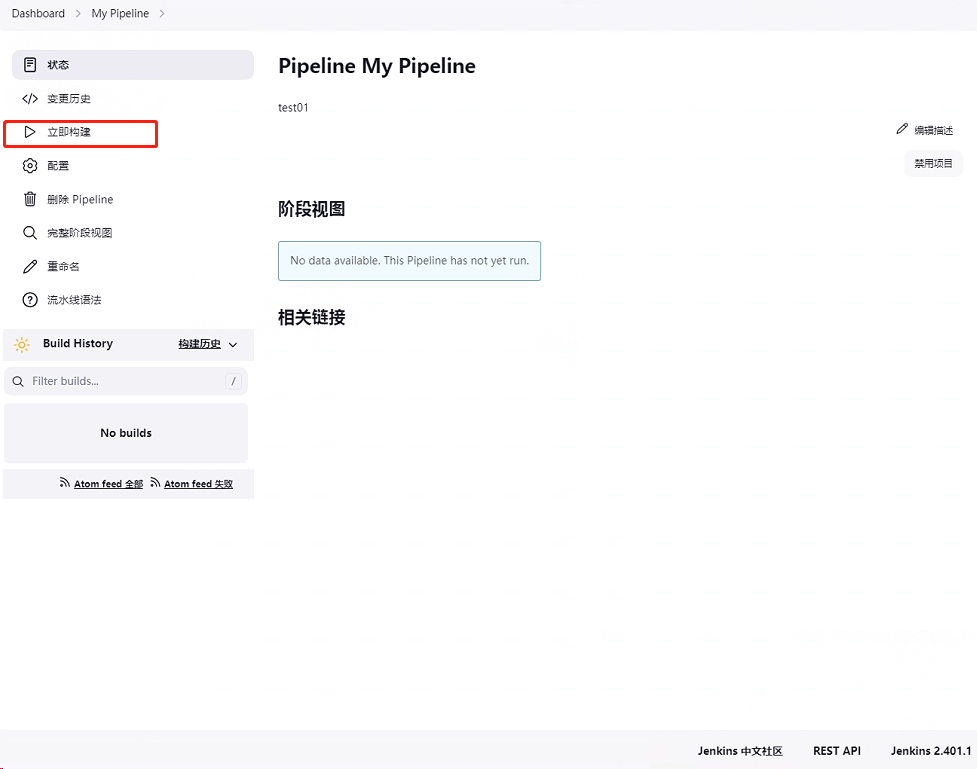
点击立即构建
查看控制台输出
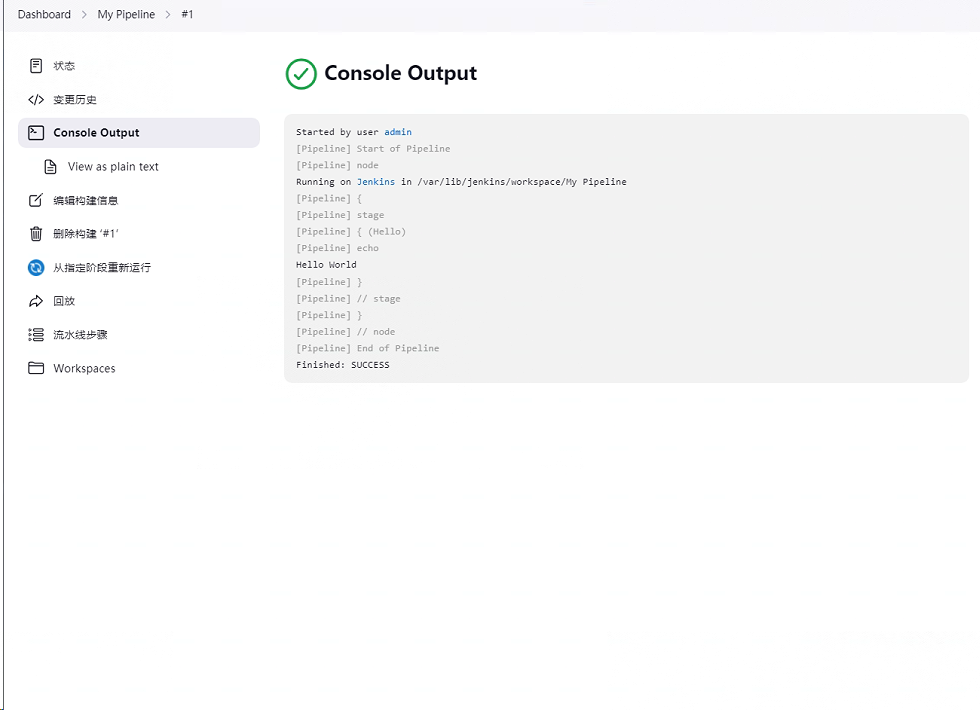
到这就完成简单的试用了,当然具体项目需要编写对应的项目流水线脚本。
今天的分享就到这了,祝学习顺利!